Creating art prints is a journey that starts with a spark of inspiration and ends with a tangible piece of art. This process involves meticulous planning, creativity, time, and craftsmanship. Let's dive into the complete process, from the first sketch to the final printed product.
Research and Inspiration
Every great piece of art begins with a burst of inspiration. For me, the creative process starts with exploring various subjects and themes such as nature, vintage items, flora and fauna, and fashion. Here's how I gather and refine my inspiration:
Explore Subjects and Themes: I spend quality time in nature (hikes), antique shops, and gardens. Even just walking the neighbourhood can provide a wealth of ideas.
Gather Reference Materials: I collect photos, objects, and real-life observations for reference materials. This helps me capture accurate details and infuse realism into my art, while keeping a painterly touch to maintain the artistic characteristics.
Create a Mood Board: for more complex pieces, I will compile visual elements, such as images, colour schemes, and styles, into a Pinterest board or Google Drive folder to help visualize the overall feel of the piece.
Conceptualization and Planning
Once the inspiration is in place, it's time to brainstorm and plan the artwork:
Brainstorm Ideas: I sketch out rough concepts and jot down ideas.
Choose a Subject and Perspective: Deciding on the focal point and composition is key. This step involves choosing what elements will stand out and how they will be arranged.
Create Thumbnail Sketches: Small, quick drawings help explore different compositions and arrangements. These sketchbook thumbnails are essential for experimenting with various ideas before committing to a final composition.
Initial Sketch
With a clear concept in mind, I move on to drafting a detailed pencil sketch:
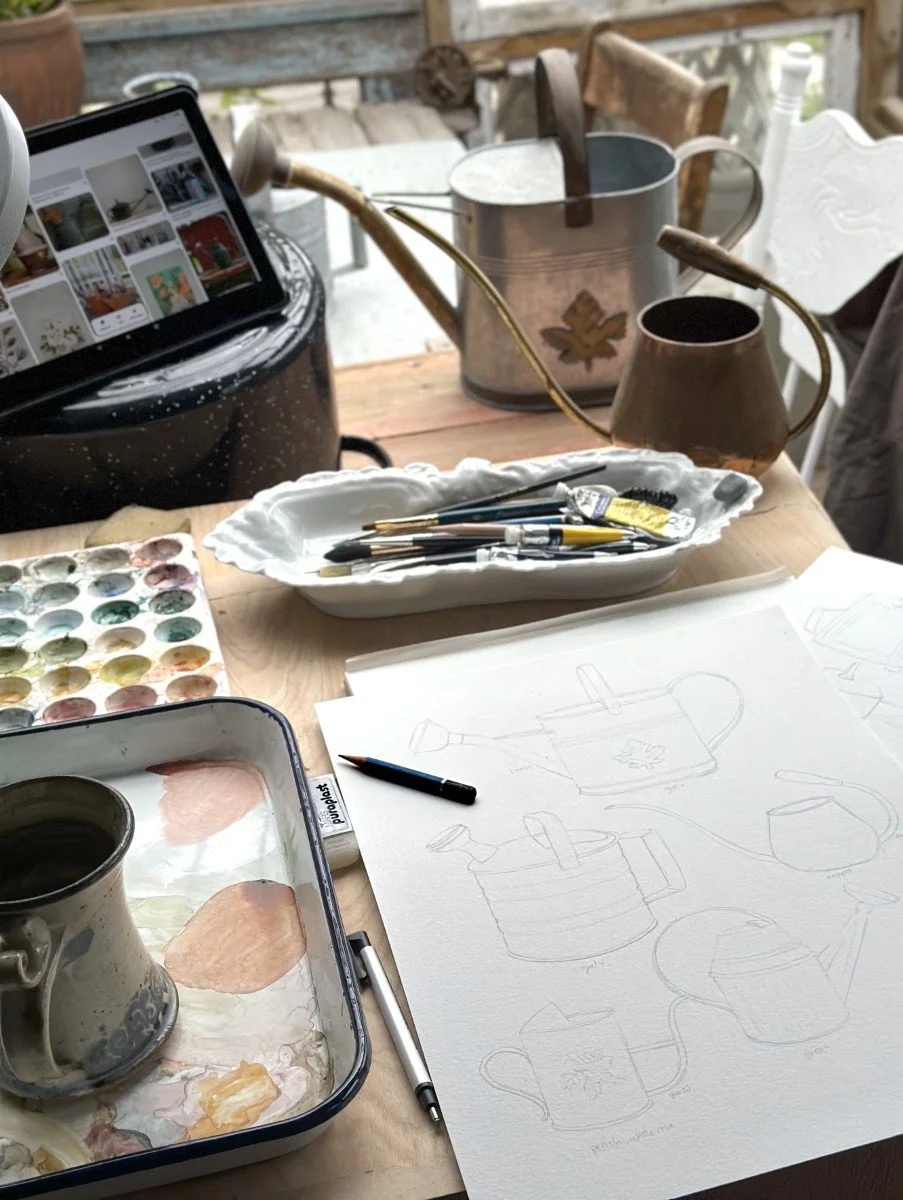
Draft a Detailed Pencil Sketch: Outlining the main elements and finer details helps set the artwork's foundation.
Adjust Composition: Refining the positioning and proportions ensures the composition is balanced and visually appealing.
Plan the Color Palette: Selecting watercolours that match the desired mood and style is crucial. The colour palette sets the tone for the entire piece. I'm a fan of muted, dusty colours myself :)
Watercolour Painting
Painting is where the artwork truly comes to life:
Transfer the Sketch: Using light pencil lines, I transfer my sketch onto watercolour paper using a light table. I used to use carbon paper, until my best friend gave me her portable light table last year, and it was a game-changer! Much more efficient.
Apply Initial Washes: Broad areas are painted with light, transparent layers to create a base. I always start with light colours, and move to the darker after those are set.
Build-Up Layers: Adding depth and details with subsequent layers enhances the richness of the colours. Each layer is allowed to dry before the next one is applied.
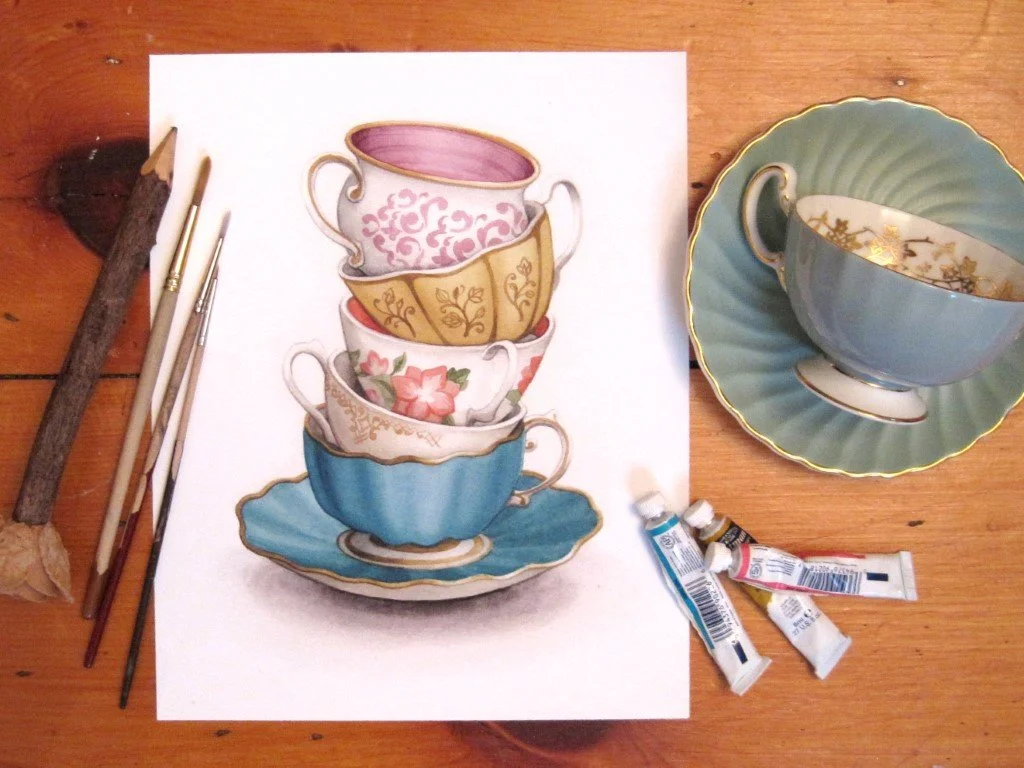
Focus on Details: Fine brushes are used to add intricate details, bringing the artwork to life.
Digitization
To transform the watercolour painting into an art print, digitization is necessary:
Scan the Painting: The image is captured digitally using a high-resolution scanner. Depending on the piece, I scan at a higher resolution than the actual size, just in case it needs to be larder for certain things like wedding signage or fabric printing (usually 800dpi).
Arranging separate elements: Sometimes I paint elements individually, such as flowers, so that I can arrange them in different ways for different pieces. I do this in Photoshop, making my work more versatile.
Colour Correction: Adjusting colours on the computer ensures they match the original painting accurately. I will often increase the contrast a bit as well, or darken the shades.
Remove Imperfections: Cleaning up any blemishes, dust spots, or inconsistencies is crucial for a flawless digital version.
Printing
Preparing the digital image for printing involves several steps:
Resize and Format: I resize the image to whatever size I’ll be printing and create a PDF file to send to my printer with crop marks and bleed, if required.
Test Prints: Creating proof prints helps ensure colour accuracy and quality.
Final Adjustments: Making necessary tweaks based on the test prints guarantees the final product is perfect.
The final step is bringing the digital image into the physical world:
Choose Printing Materials: I use high-quality cardstock for my prints for durability and a premium feel.
Work with a Local Printer: Collaborating with a professional printer helps achieve the best results. The team I like to work with is only 15 minutes away from my studio!
Quality Check: Reviewing the prints before I package them up is the last step in the process. My printer knows I have an eye for detail - I don’t accept anything less than perfect ;)
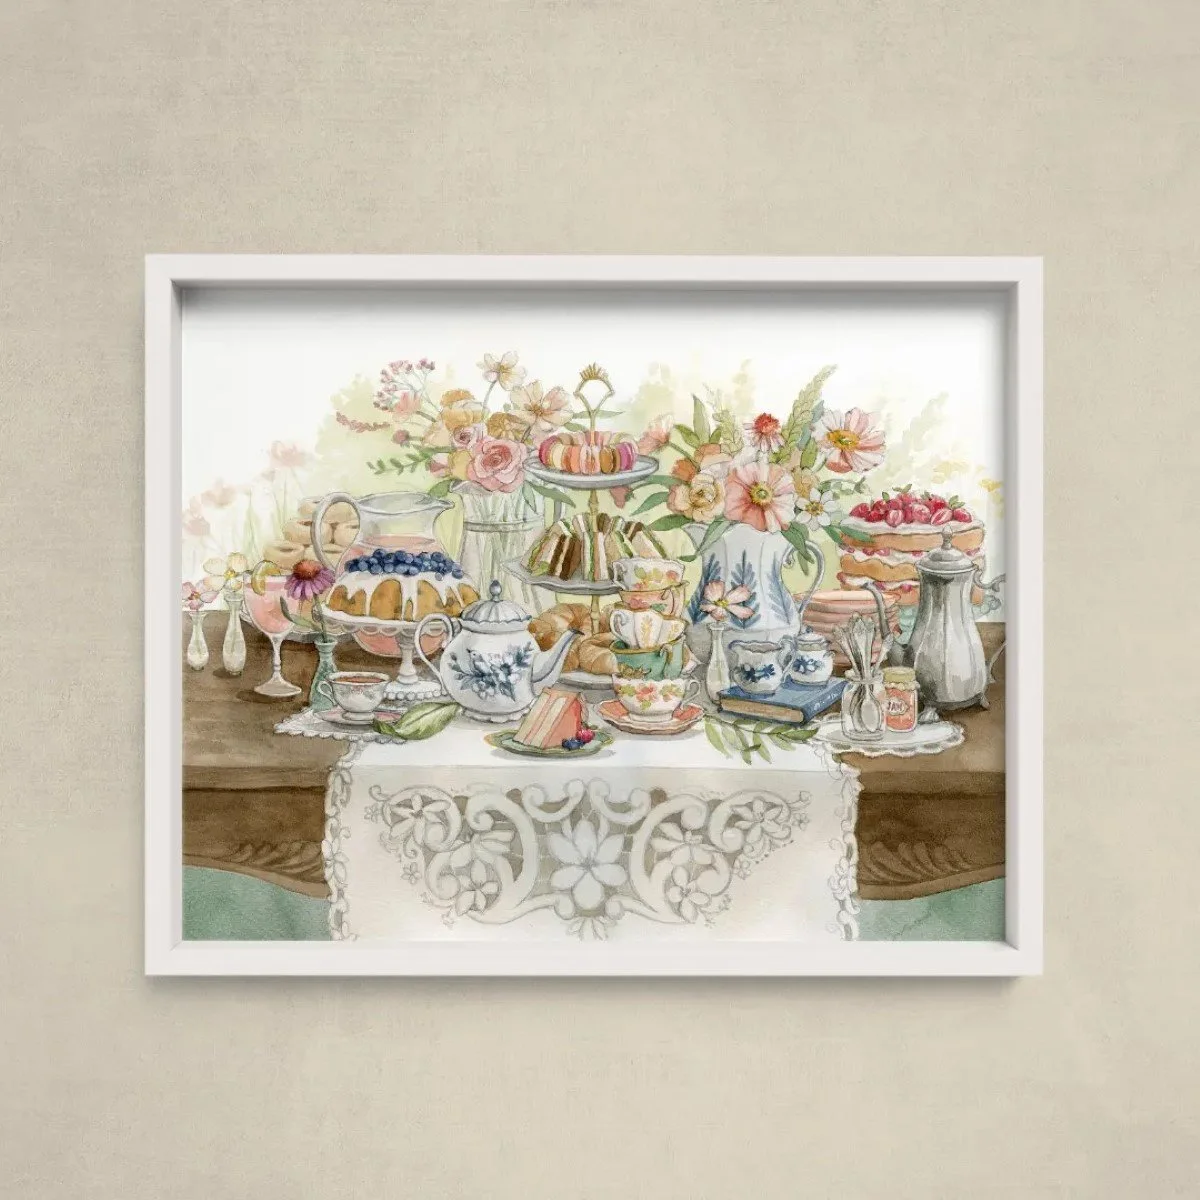
From a mere spark of inspiration to a beautiful art print, each step of this journey is filled with creativity, precision, and passion. Seeing my artwork transformed from a blank page to a simple sketch, and finally a framed print is incredibly fulfilling. Each piece not only represents the time and effort put into it but also tells a story of artistic exploration and dedication.
If you're an aspiring artist or simply curious about the creative process, I hope this insight into my workflow inspires you to explore your own artistic journey. Remember, every masterpiece starts with a single sketch.
FAQs
Q: What materials do you use for sketching and painting? A: I primarily use 3H- B graphite pencils for initial sketches. They allow for easy adjustments and refinement. For paint, I mostly use Winsor & Newton Cotmon or professional watercolours.
Q: How do you ensure colour accuracy when digitizing your artwork? A: I use a high-resolution scanner and perform colour correction in Photoshop to match the original painting as closely as possible.
Q: What type of paper do you recommend for watercolour paintings? A: I use cold-pressed 140lb (min) watercolour paper. It provides excellent texture and durability for multiple layers of paint. I have been using Canson pads as they work well fo rmy use and are economical. Of course, 100% cotton is best, though ;)
Q: Can I purchase your prints online? A: Yes, you can explore and purchase my prints on my website HERE!


